1Download and get started
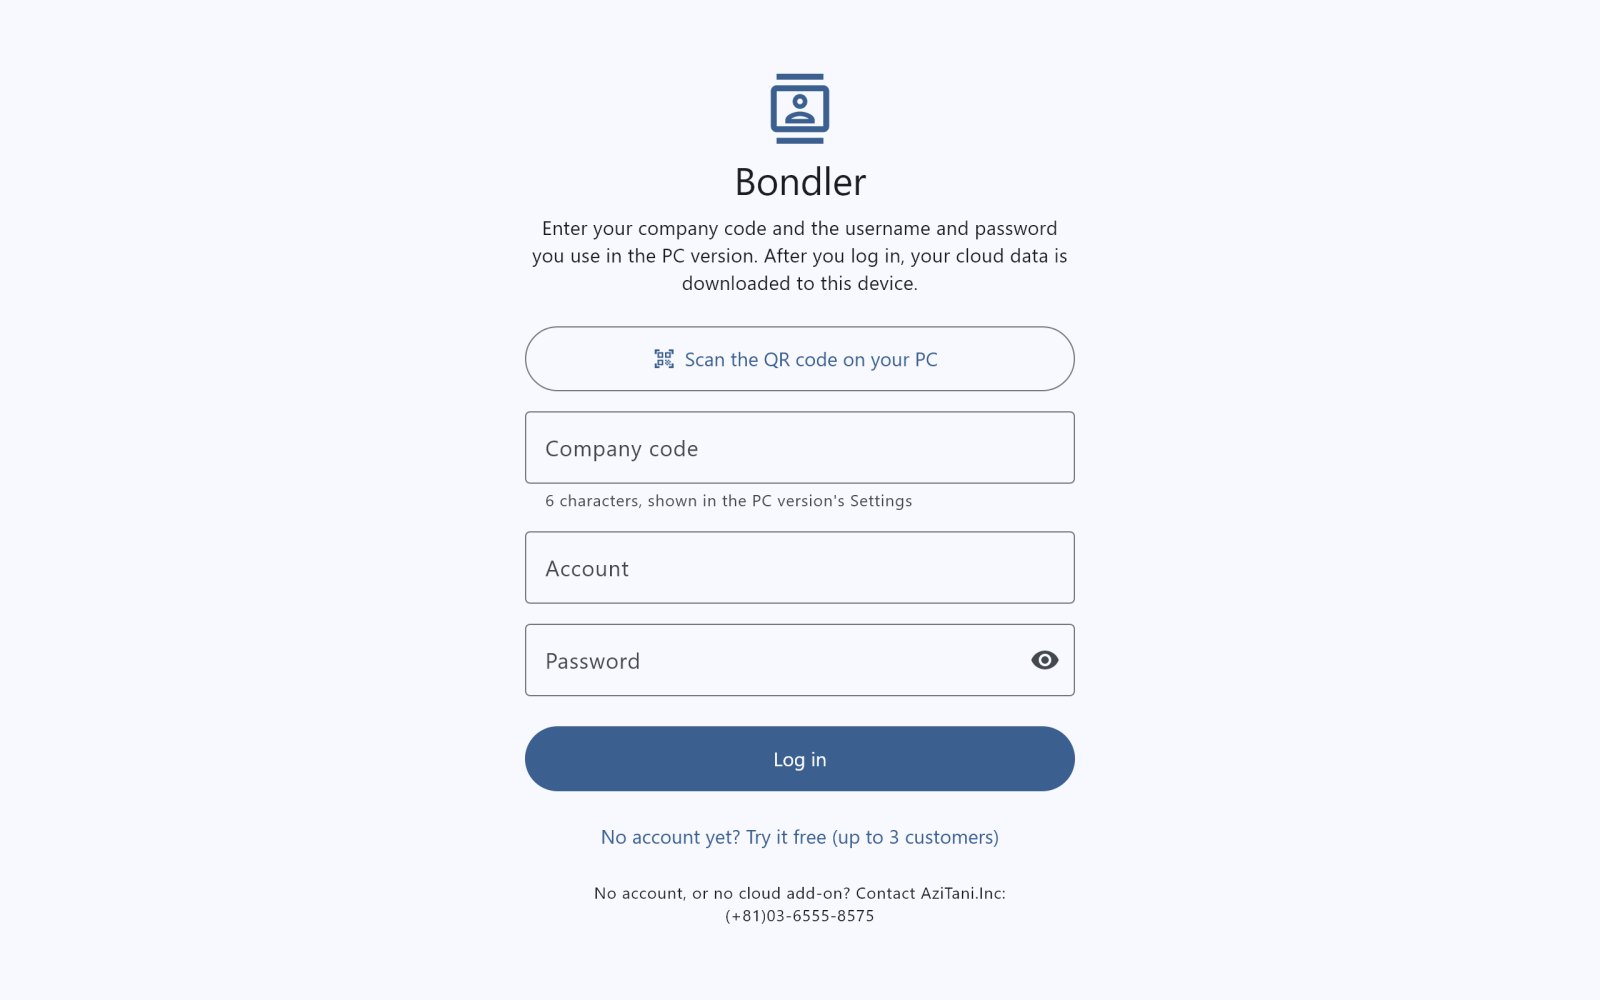
- Search for “Bondler” in Google Play (Android) or the App Store (iPhone, iPad), install it and open it.
- First time: tap No account yet? Try it free (up to 3 customers). No account needed.
- Already have an account: enter your Company code, username and password, then tap Log in.
💡 During the trial your data stays on this device only. When you subscribe it's kept and uploaded to the cloud.
2Add a client
- On the Customers page, tap Add customer.
- Fill in the name, phone, company and so on (at least one of name, phone or company), then tap Save at the top right.
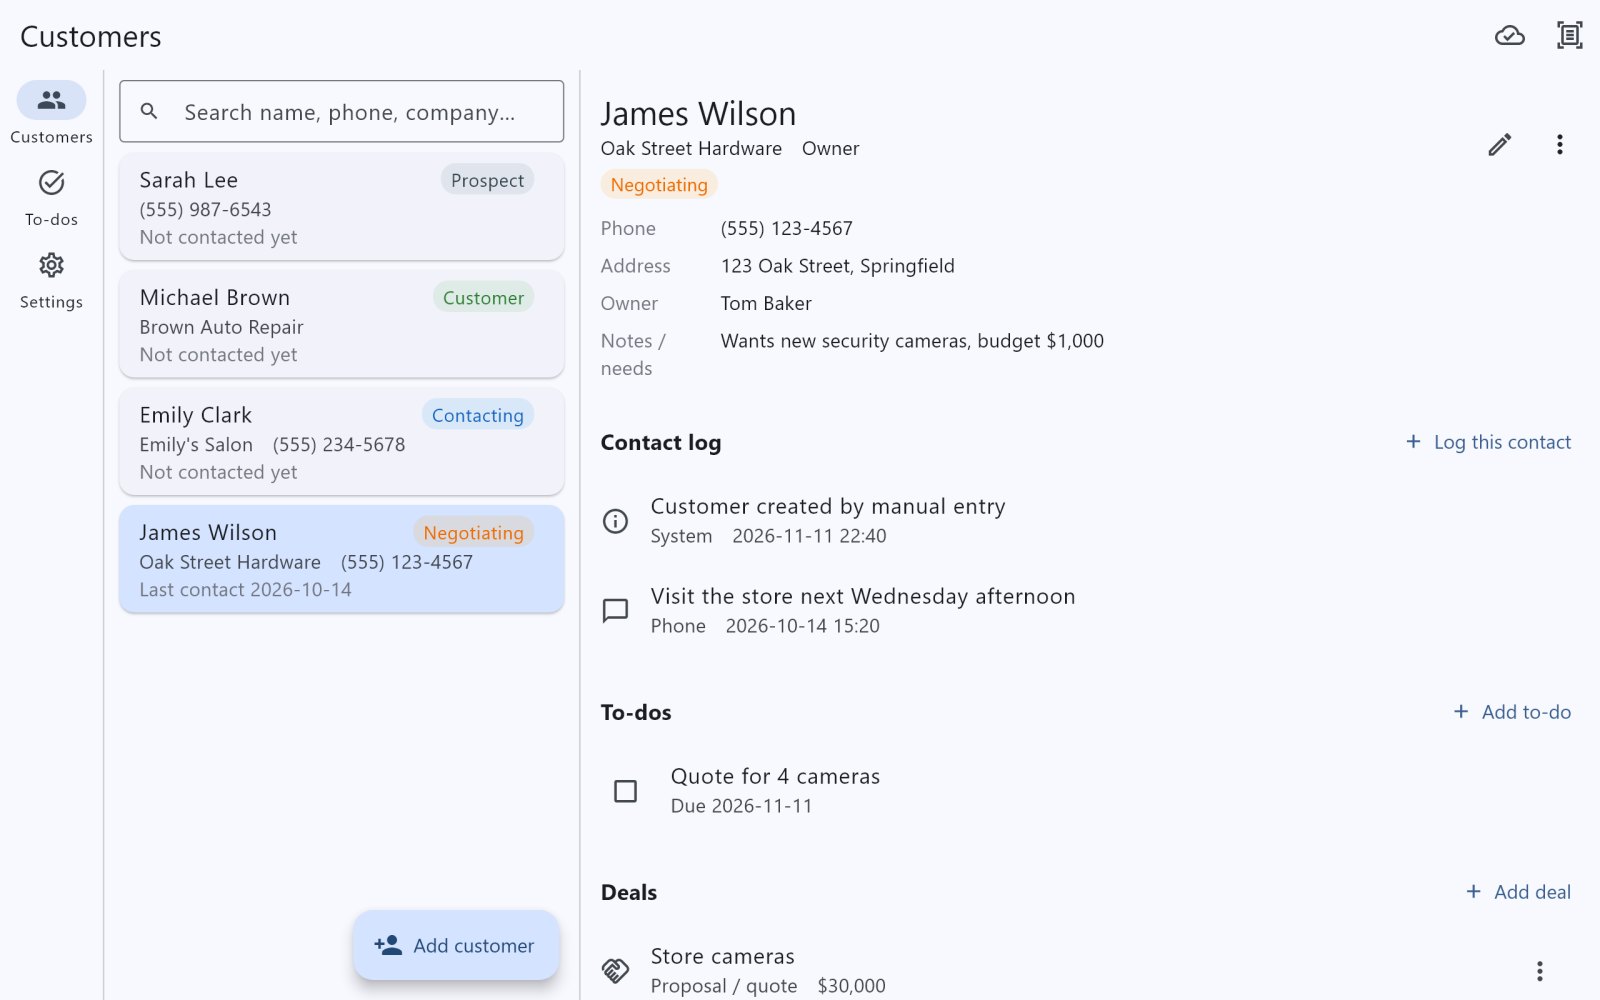
- To find a client, type part of a name, phone number or company in the search box.
💡 On a tablet, the list is on the left and the selected client is on the right, so you never need the back button.
3Scan a handwritten form
- Tap the scan icon at the top right (Scan a photo), then Take a photo or Choose from library.
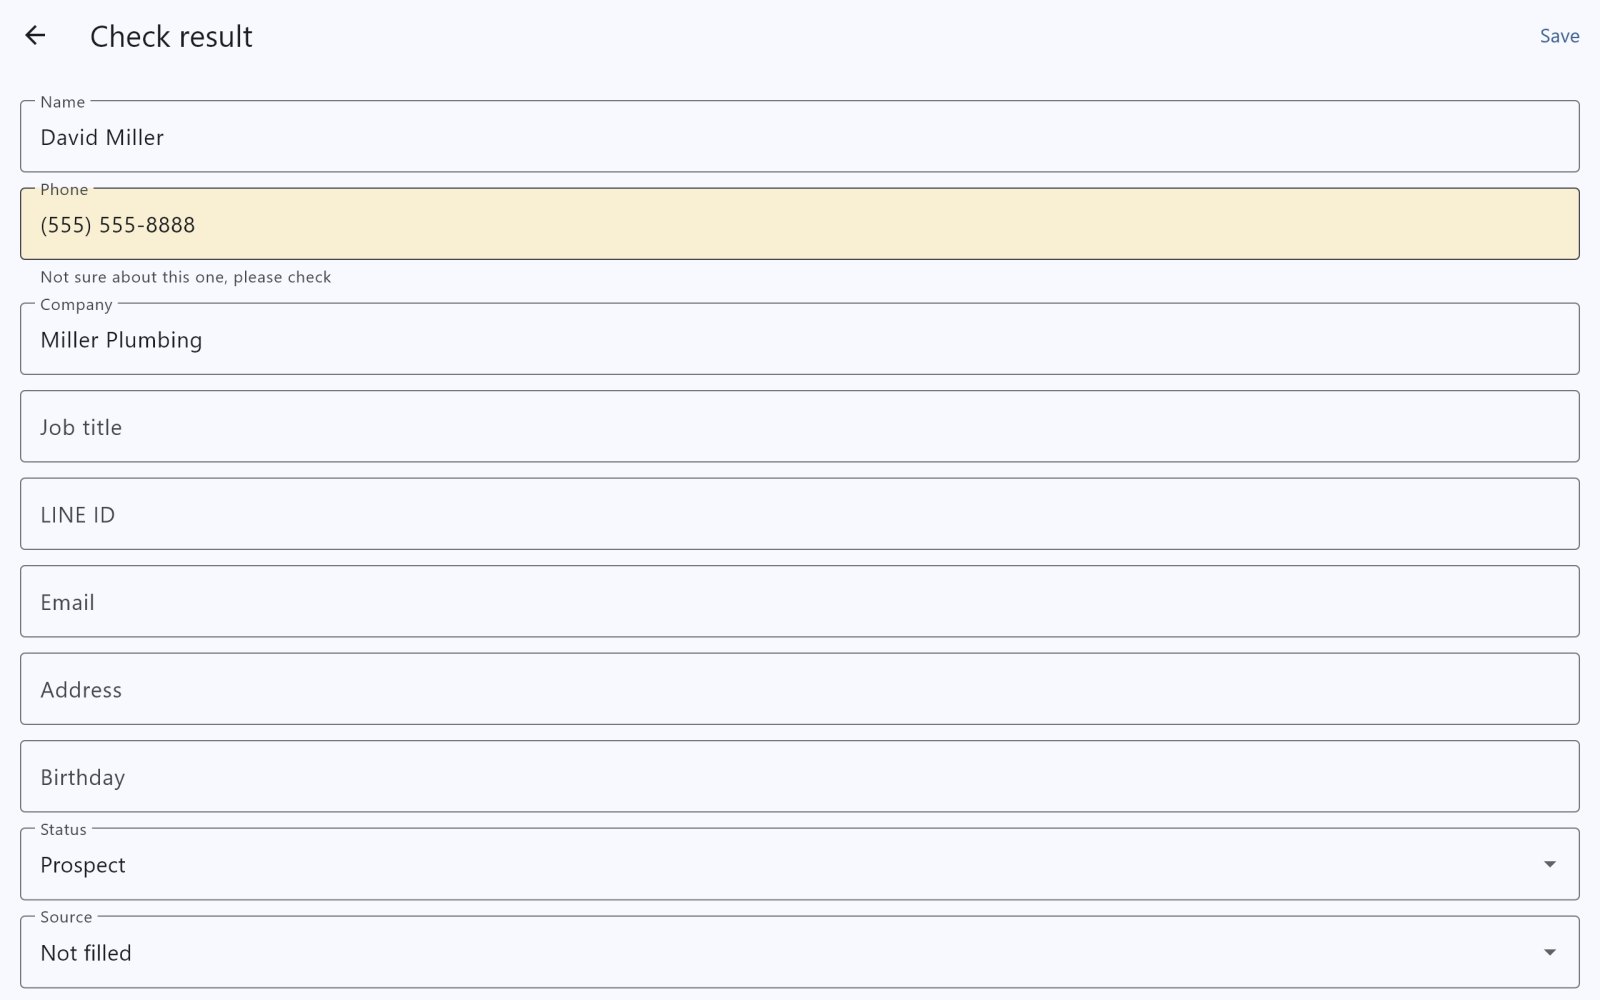
- After about 5–15 seconds, Check result opens.
- Yellow fields are ones it wasn't sure about, so check them carefully. When everything looks right, tap Save.
- If one sheet has several clients, you confirm them one by one (1/3, 2/3…).
- The trial includes 3 scans; plans include 5 scans a month, reset on the 1st. Failed scans aren't counted.
- Need more? Buy a scan pack in the app (valid for 12 months).
- The first time, allow access to the camera or photos when asked.
4Log contacts, to-dos and deals
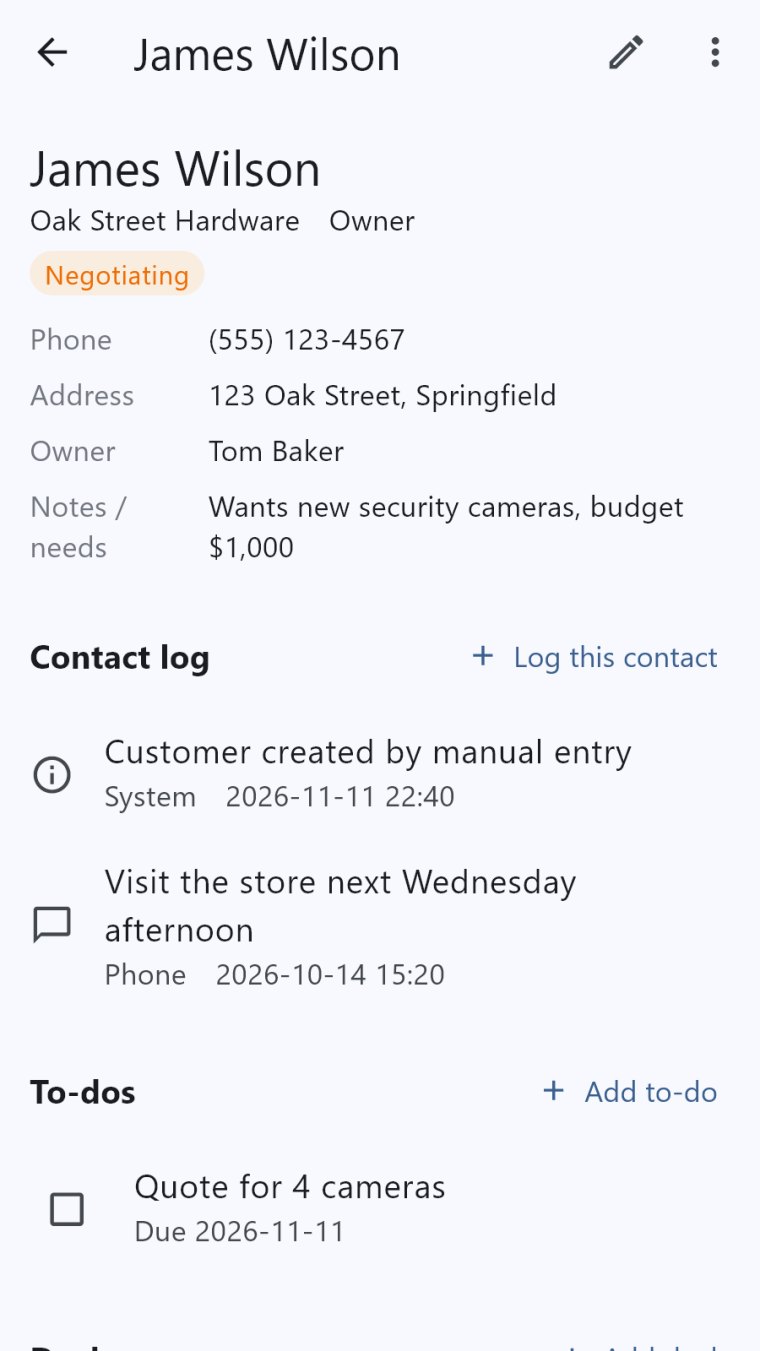
Open a client to see three sections:
- Log this contact: add a note after each call or visit. The list shows each client's last contact date.
- Add to-do: what to do and an optional due date.
- Add deal: name, amount and stage. Update it with Change stage.
5Check your to-dos every day
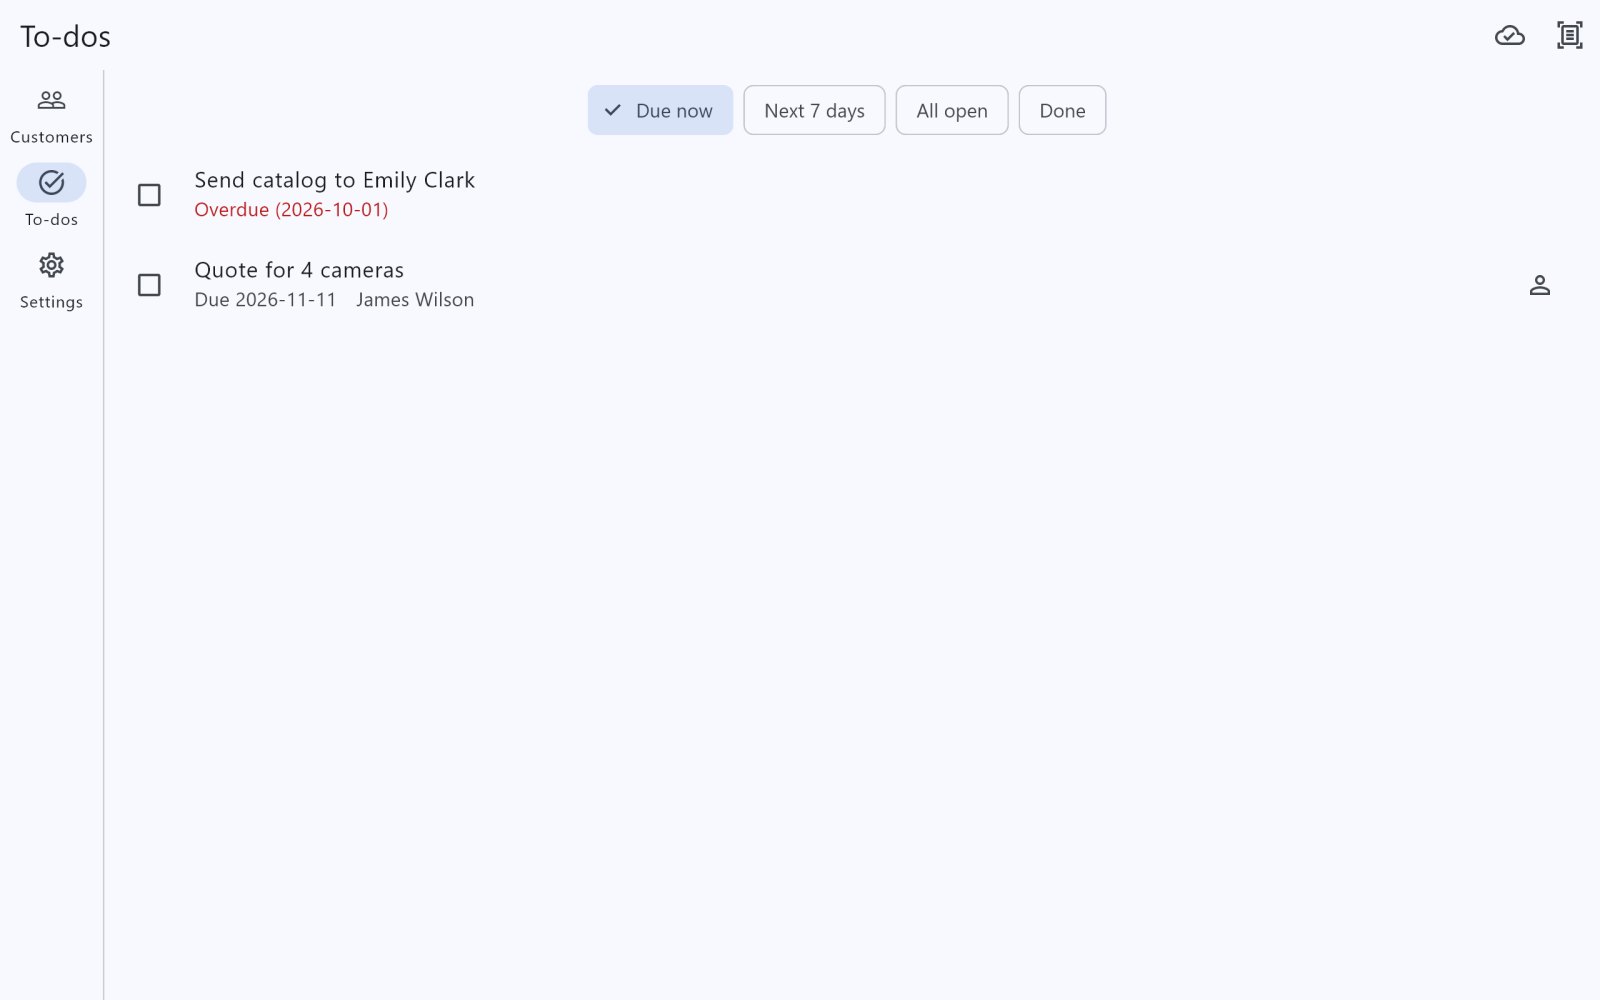
- Tap To-dos and switch between Due now, the next 7 days, all open and done.
- Tick the box when it's done. Overdue items are shown in red.
- Tap the person icon on the right to open that client.
💡 Check “Due now” each morning before you open.
6Subscribe to a plan
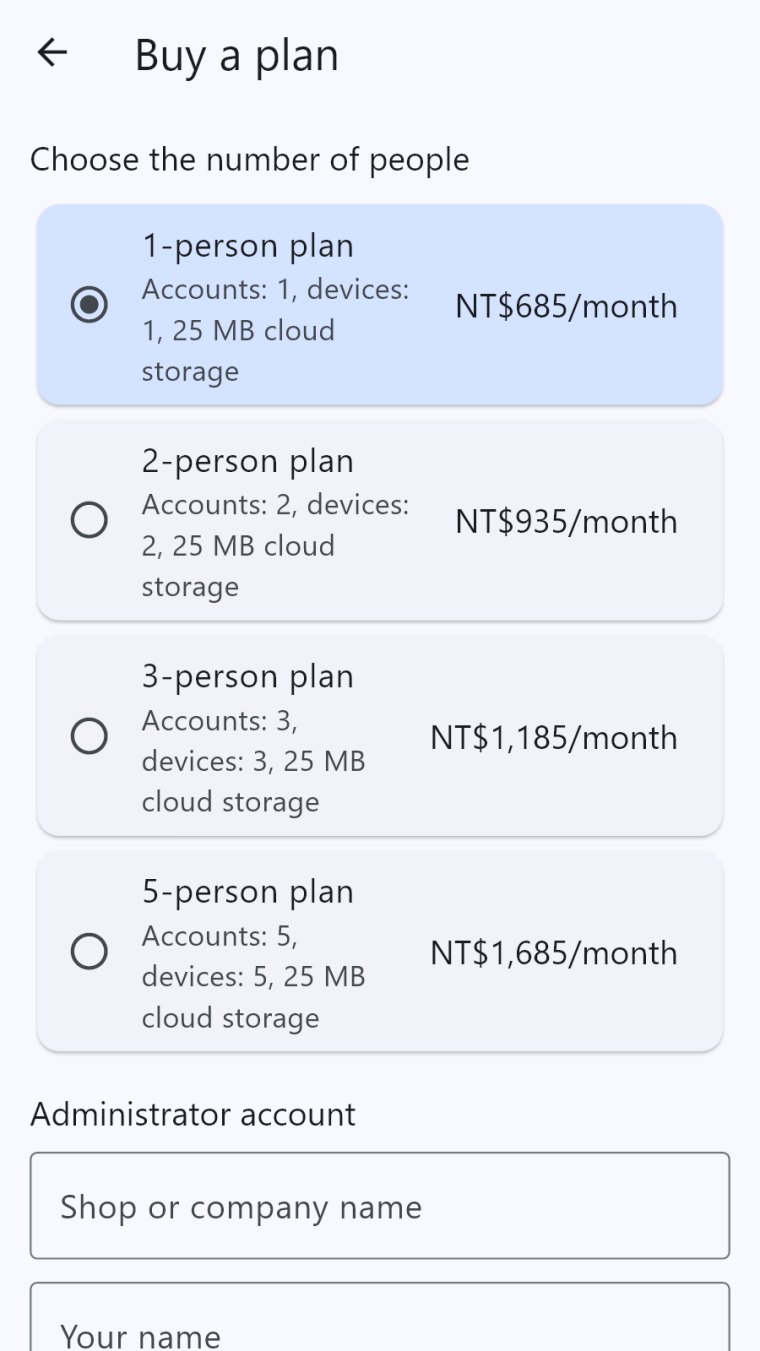
- During the trial, tap Buy a plan at the top (or in Settings).
- Choose the number of people (1, 2, 3 or 5) and pay with Google Play or the App Store.
- Enter your Shop or company name, your name, an Administrator username and password, then tap Finish setup.
- Your company code is shown. Write it down: you need it to sign in on other devices.
- The subscription renews monthly. Cancel anytime in Google Play or the App Store; it stays active until the end of the period.
- New phone or reinstalled the app? Tap “Restore purchases” on the purchase screen.
7Sign in on your tablet or another phone
- Install Bondler on the other tablet or phone.
- Enter your Company code, username and password and tap Log in. Your data downloads automatically.
- From then on, changes on any device sync to the others.
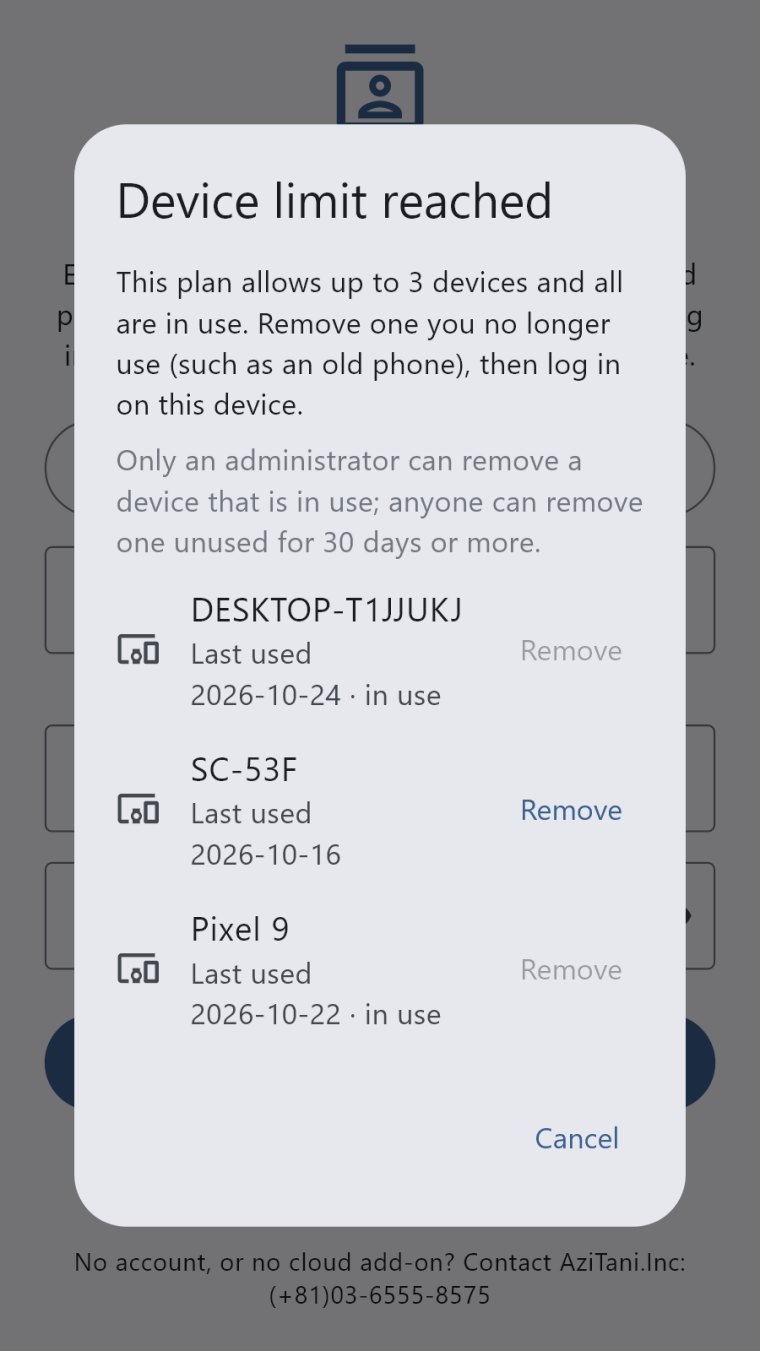
- Each device counts toward your plan (1 on the 1-person plan, 2 on the 2-person plan, and so on).
- If you see Device limit reached, remove a device you no longer use (like an old phone) and sign in again.
8Settings and security
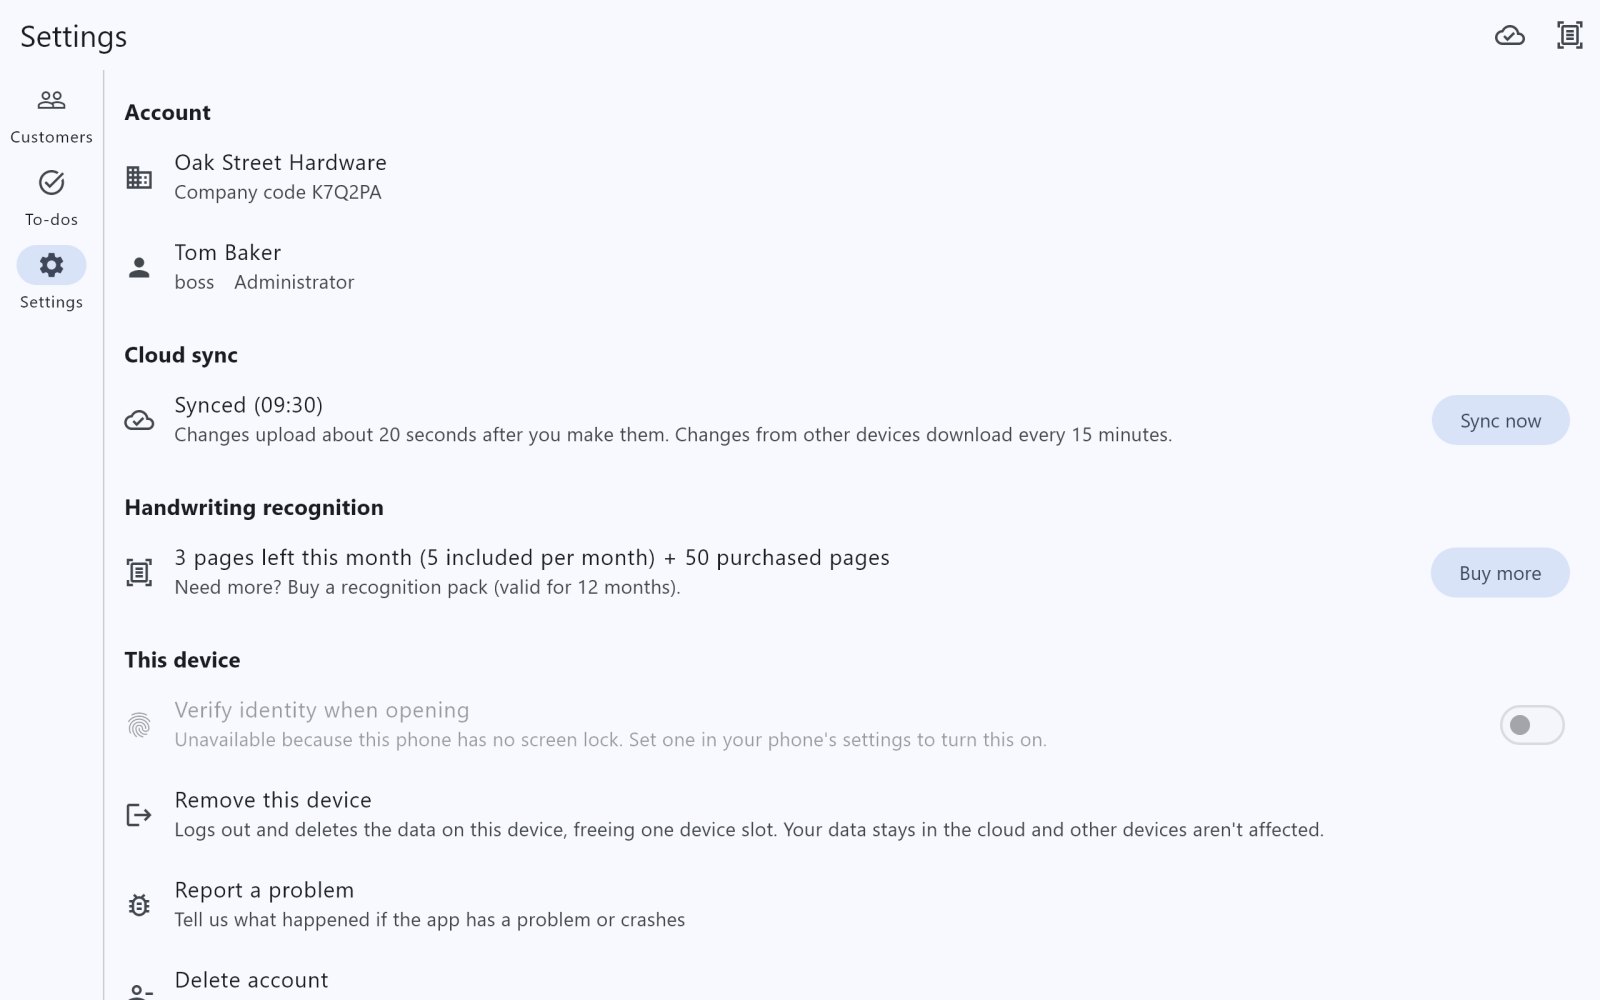
- Verify identity when opening: require fingerprint, Face ID or device passcode (recommended).
- Cloud sync: shows the sync status; tap Sync now anytime. Changes upload in about 20 seconds; other devices' changes download every 15 minutes.
- Manage subscription: view or cancel your subscription.
- Remove this device: free up a device slot (your data stays in the cloud).
- Report a problem: tell us if something goes wrong.
💡 Text too small? Increase the text size in your device's system settings; Bondler follows it (up to 2×).
Put your clients on your tablet today